Introduction
Just like confectioners have fun when baking a batch of French desserts, we in the IT world have fun “baking” our own machine images. Packer is a great vendor-agnostic tool for doing just this. Basic Packer details can be found at their official docs, such as the structure of the JSON file, variables, builders, provisioners etc.
What I’ll be focusing on in this blog post is working with those files and iterating our base image to have a working VirtualBox appliance with Docker installed on there, as well as basic Nginx running in Docker. I will use official Ubuntu 18.04. image and work my way up from there. This is where Packer really shines. Amongst other output formats it can export an image to OVA (OVF) format which basically enables people to build agnostic images for pretty much any platform that supports OVA (OVF) format.
Project Repo
I’ve used Jeff Geerling’s Github repository as a base to work up from.
The structure of this project is the following:
.
├── README.md
├── ansible
│   └── main.yml
├── bloggy-base.json
├── bloggy-docker.json
├── http
│   └── preseed.cfg
├── packer_cache
└── scripts
    └── setup.sh
packer cache folder will contain downloaded .iso image. preseed.cfg in http server for jump-starting Ubuntu installation and it’s referenced in Packer JSON configuration file as well. The setup.sh script installs Ansible and modifies user permissions for that machine.
Base Image
Let’s use virtualbox-iso for our builder. Easiest and fastest way for this is to find a ready .iso image on the web and copy and paste its link in the corresponding section in your JSON Packer file. The section mentioning this .iso source looks like this:
"iso_urls": [
  "iso/<image_name_goes_here>", # This one searches for ISO file in cache folder,
  "http://<link_goes_here>"     # This one fetches for ISO file from a remote location when no ISO file is cached.
],
We mentioned that we’ll use Ubuntu 18.04 ISO image:
"iso_urls": [
    "packer_cache/ubuntu-18.04.1-server-amd64.iso",
    "http://cdimage.ubuntu.com/releases/bionic/release/ubuntu-18.04.1-server-amd64.iso"
  ],
"iso_checksum_type": "sha256",
"iso_checksum": "a5b0ea5918f850124f3d72ef4b85bda82f0fcd02ec721be19c1a6952791c8ee8",
We’ll also need to find a checksum for this image (for Ubuntu can be found here)
The idea behind a base image is to have a fresh and clean Ubuntu server installed with one defined user - say bloggard. This user is defined in the preseed.cfg file, which I’ve tampered with.
This process will take some time and after it’s finished we’ll have a pre-baked image (you may have heard this term before) image that we can then use in our next packer-build iterations.
The base image file is called bloggy-base.json
I also wish to install Ansible on this base image in order to do custom provisioning later on. This is defined in the setup.sh bash script.
Validate Packer JSON
Before running packer build <packerfile.json> it’s useful to check the config file for any syntax and some logic errors:
$ packer validate bloggy-base.json
Template validated successfully.
Build image
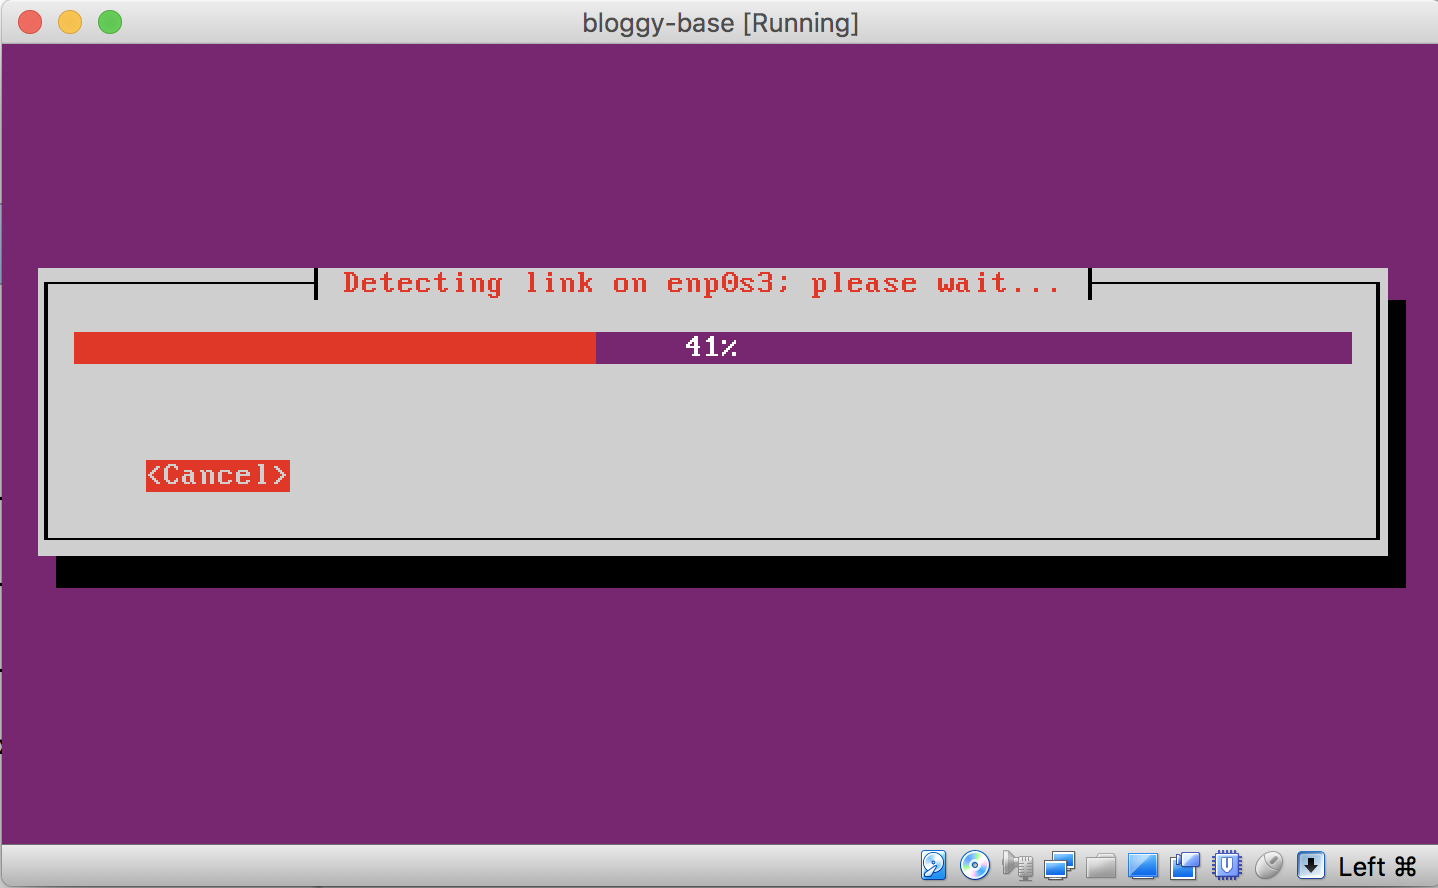
If you’ve received this response, you may proceed with the build and watch the output on your terminal. Optionally, you can start VirtualBox and attach to the machine being built and watch the progress.
You build an image with the following command:
$ packer build bloggy-base.json
virtualbox-iso output will be in this color.

==> virtualbox-iso: Downloading or copying Guest additions
    virtualbox-iso: Downloading or copying: file:///Applications/VirtualBox.app/Contents/MacOS/VBoxGuestAdditions.iso
==> virtualbox-iso: Downloading or copying ISO

It will show its output in the command line, but you can track this process by opening up your VirtualBox and selecting this machine. You should be able to recognize this machine by the name we’ve given it in bloggy-base.json file. You can set the output location on your own; I chose a new folder, ./vms. The folder must not exist prior to running Packer for this case.
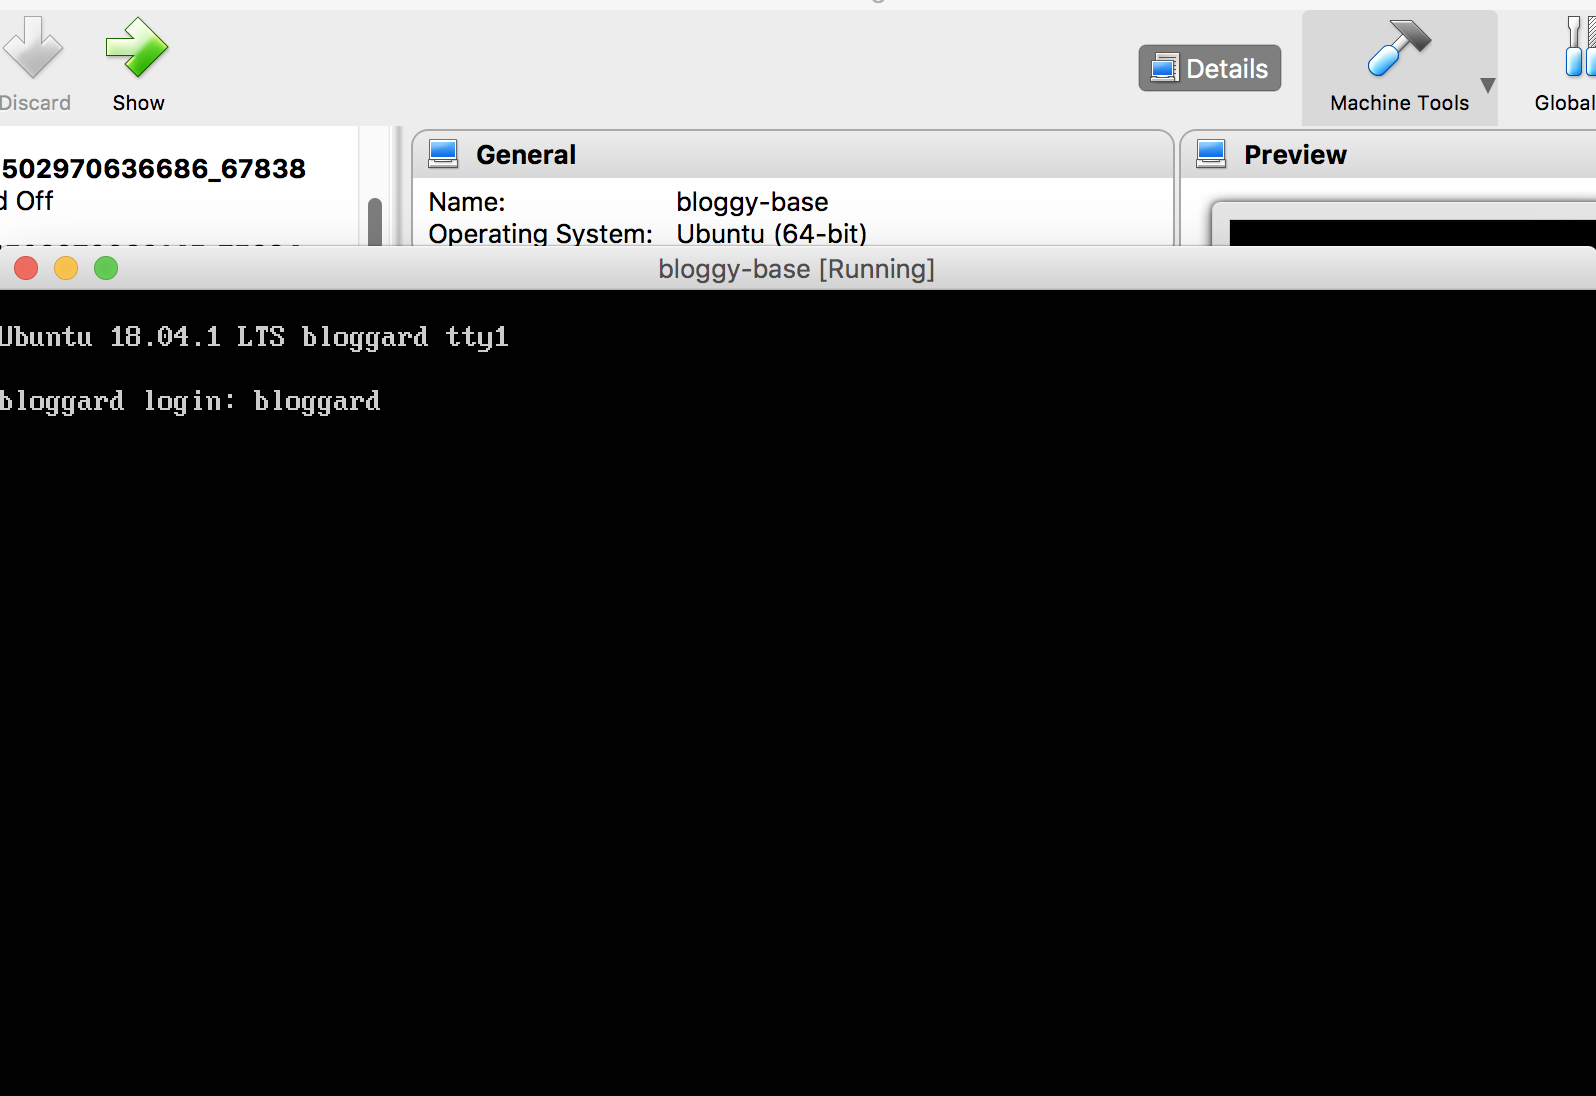
When Packer is done and image is ready, import it in VirtualBox and start it up. You should have a bare Ubuntu (with Ansible) installed.

What if build is intolerably slow?
We’ve defined virtual machine hardware resources that we assign from the host machine. To speed up the baking process, you may try to allocate more CPU cores and RAM to the virtual machine.
"vboxmanage": [
    [
      "modifyvm",
      "",
      "--memory",
      "4096"
    ],
    [
      "modifyvm",
      "",
      "--cpus",
      "2"
    ]
  ]
Final image?
By the time we get here we have a working basic, very boring Ubuntu image.
Ansible
It seems reasonable to write bash scripts for initial image setup, provisioning, clean-up and that’s perfectly fine. There are many approaches to take that lead to the same result; however, I would advise any serious provisioning to be done through a configuration management tool, such as Ansible. In this example, we’ll install Docker via Ansible.
Ansible is already installed on our pre-baked image, and to make things very easy, we will install latest Docker with convenience script:
'bash -c "curl -fsSL https://get.docker.com/ | sh"'
Before that, it’s good to have a few of the useful programs installed as well (wget, curl, vim and python-pip for docker-py as well).
Finally, let’s choose to have a web server running in Docker when we log into our new machine.
The complete playbook looks like this:
---
- hosts: all
  become: yes
  gather_facts: yes
  tasks:
    - name: 'Install basic packages'
      apt:
       name: "{{ item }}"
       state: "installed"
      with_items:
        - wget
        - python-pip
        - curl
        - vim

    - name: 'Pip install docker-py'
      pip:
        name: docker-py
        state: present

    # Install Docker via convenience script - latest version
    - name: 'Install Docker'
      command: 'bash -c "curl -fsSL https://get.docker.com/ | sh"'

    - name: 'Pull Nginx Docker image and run it'
      docker_container:
        name: nginx-bloggy
        image: nginx
        state: started
        restart: yes
        restart_policy: always
        ports:
          - "80:80"
Very simple and clean.
Bakery revisited
We will use our pre-baked base image as a new source for the next iteration of Packer in a new file named bloggy-docker.json. The output folder will be separate from our pre-baked source image(s). This folder will be called ./image and it will not exist before build process as well.
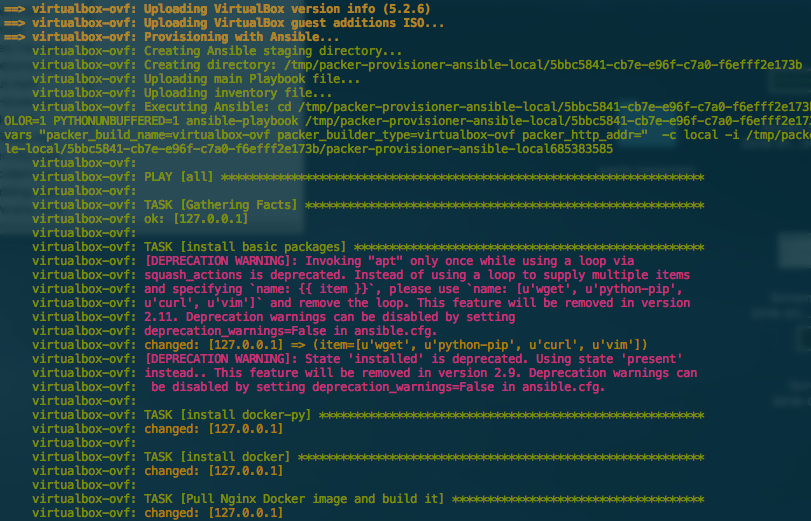
Run packer validate bloggy-docker.json followed by packer build bloggy-docker.json. This time it will be more useful to track progress via the terminal output, rather than VirtualBox.

Check Results
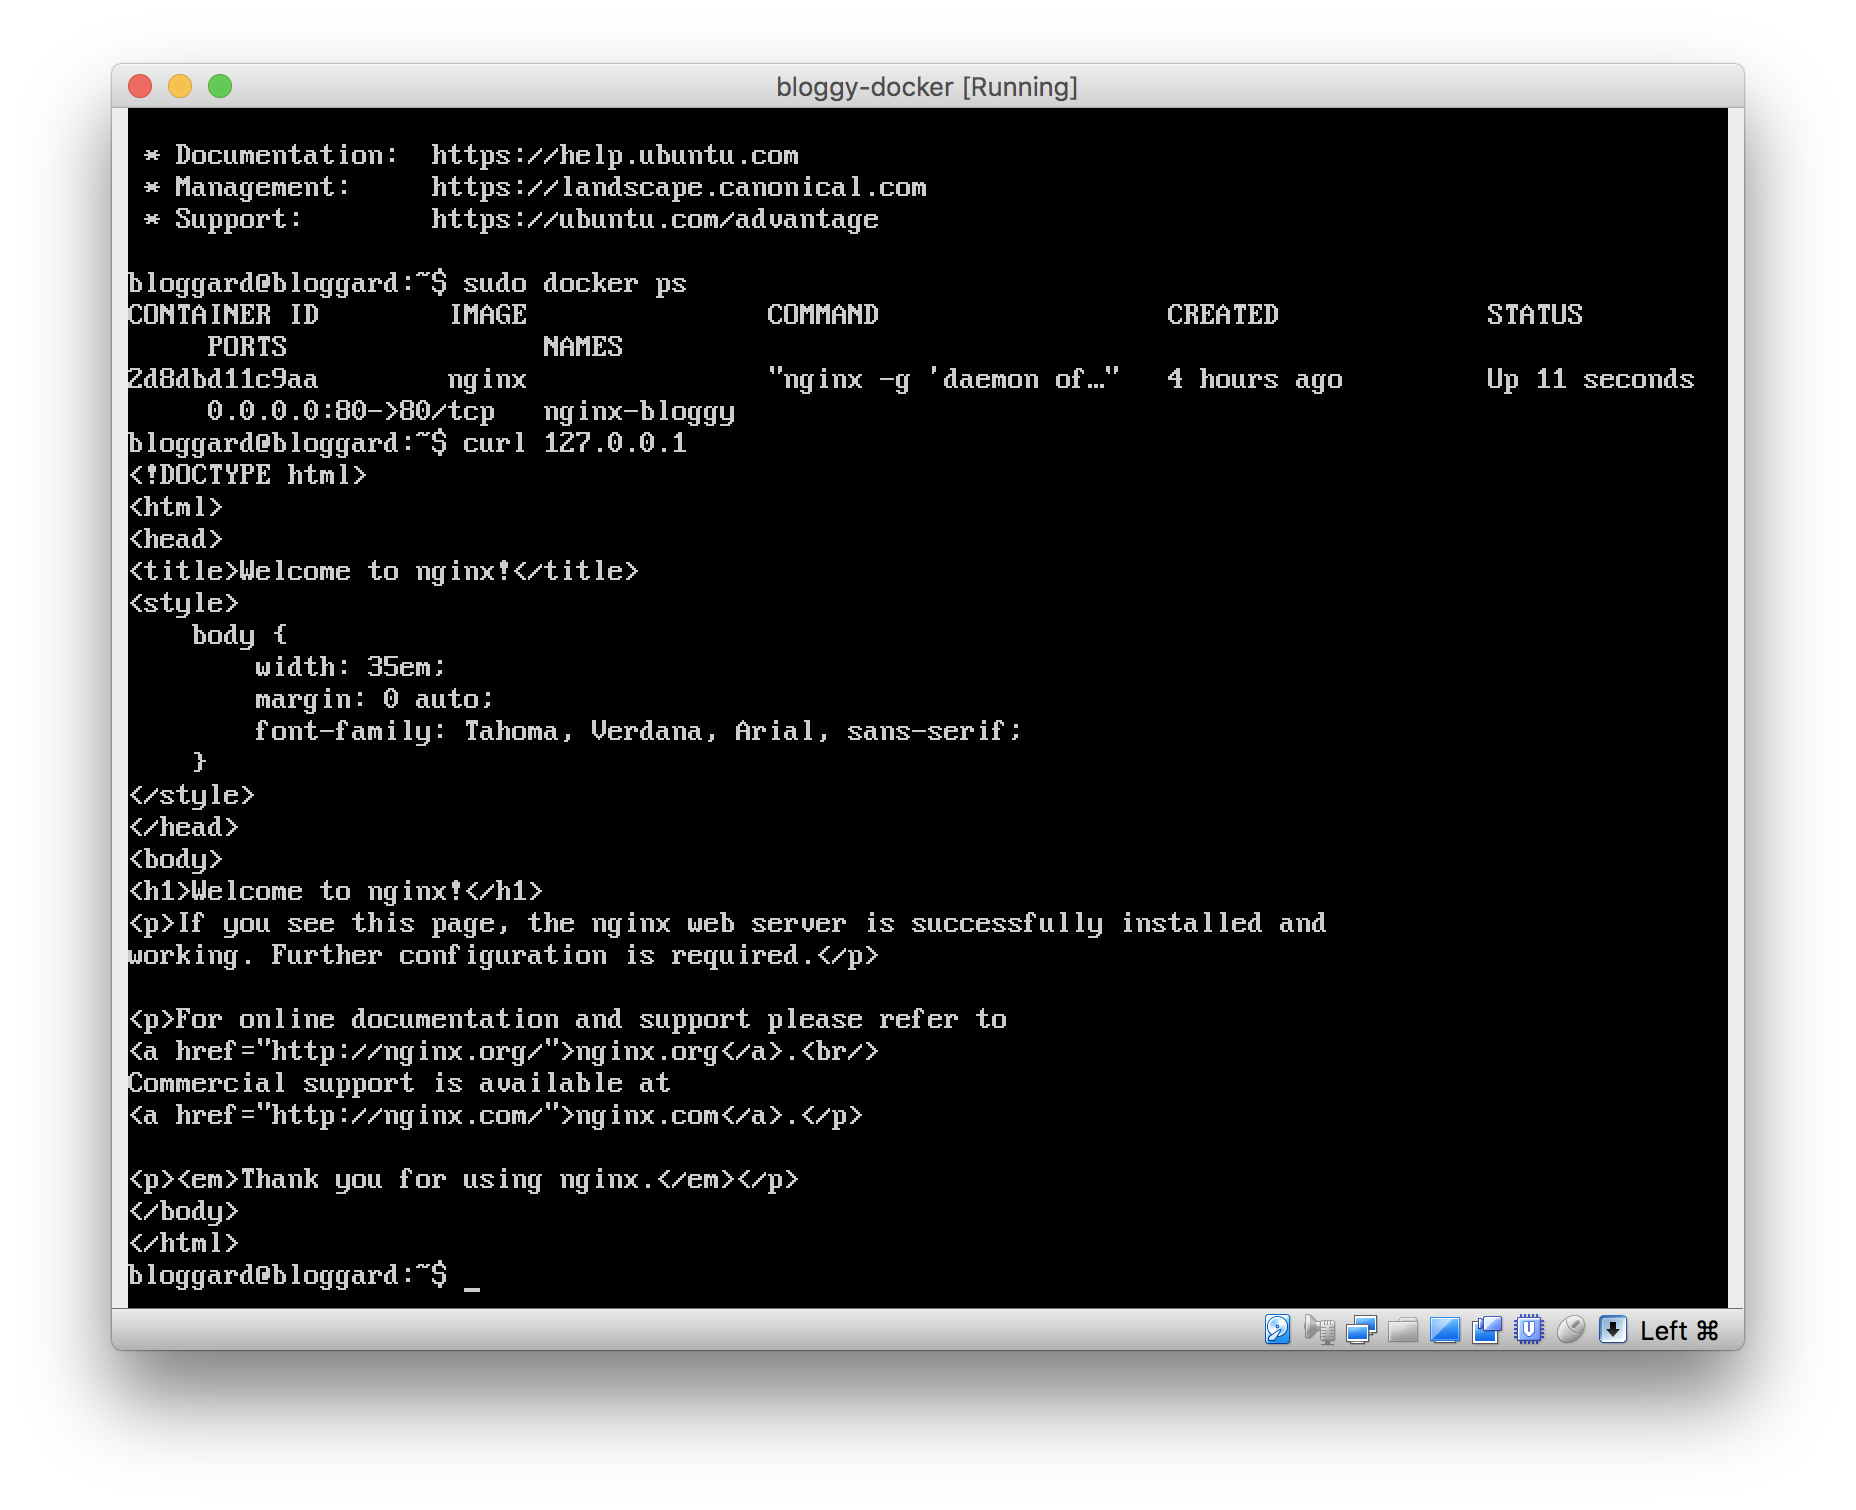
Import the box ./image/bloggy-docker.ovf in VirtualBox, start it and check for Nginx running in Docker.
$ sudo docker ps

It works, that’s it! The next question is: “Do we really need an image this big?”
Notes
- The whole thing could be done in one (first) step of Packer. It would take more time, but if you haven’t got it from the first time, you will wait several times more to try baking/packing again than if you took the iterative approach.

